Branding & Receipt Customization
Customizing your Business Profile ensures every printed sales ticket, email estimate, and WhatsApp invoice carries your brand identity. In BPS POS, you can upload high-resolution store logos, specify tax numbers (NTN/VAT ID), format currency symbols, and write custom return policy terms for your receipt footers.
A professionally branded invoice builds customer trust and reduces return disputes. BPS POS provides deep layout control so your invoices match your business branding whether printed on 80mm thermal rolls or full-page A4 sheets.
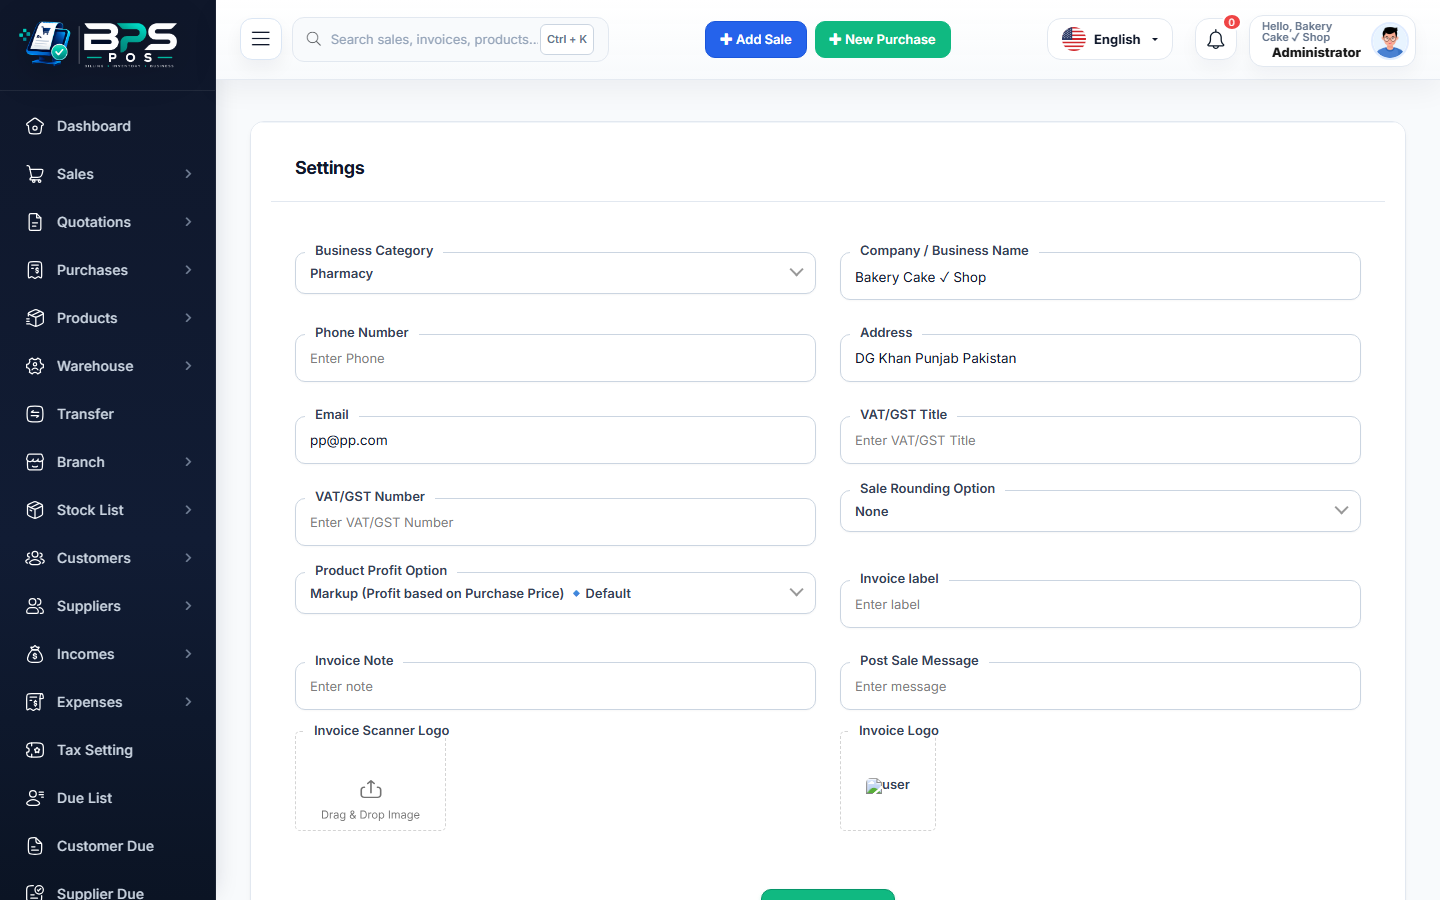
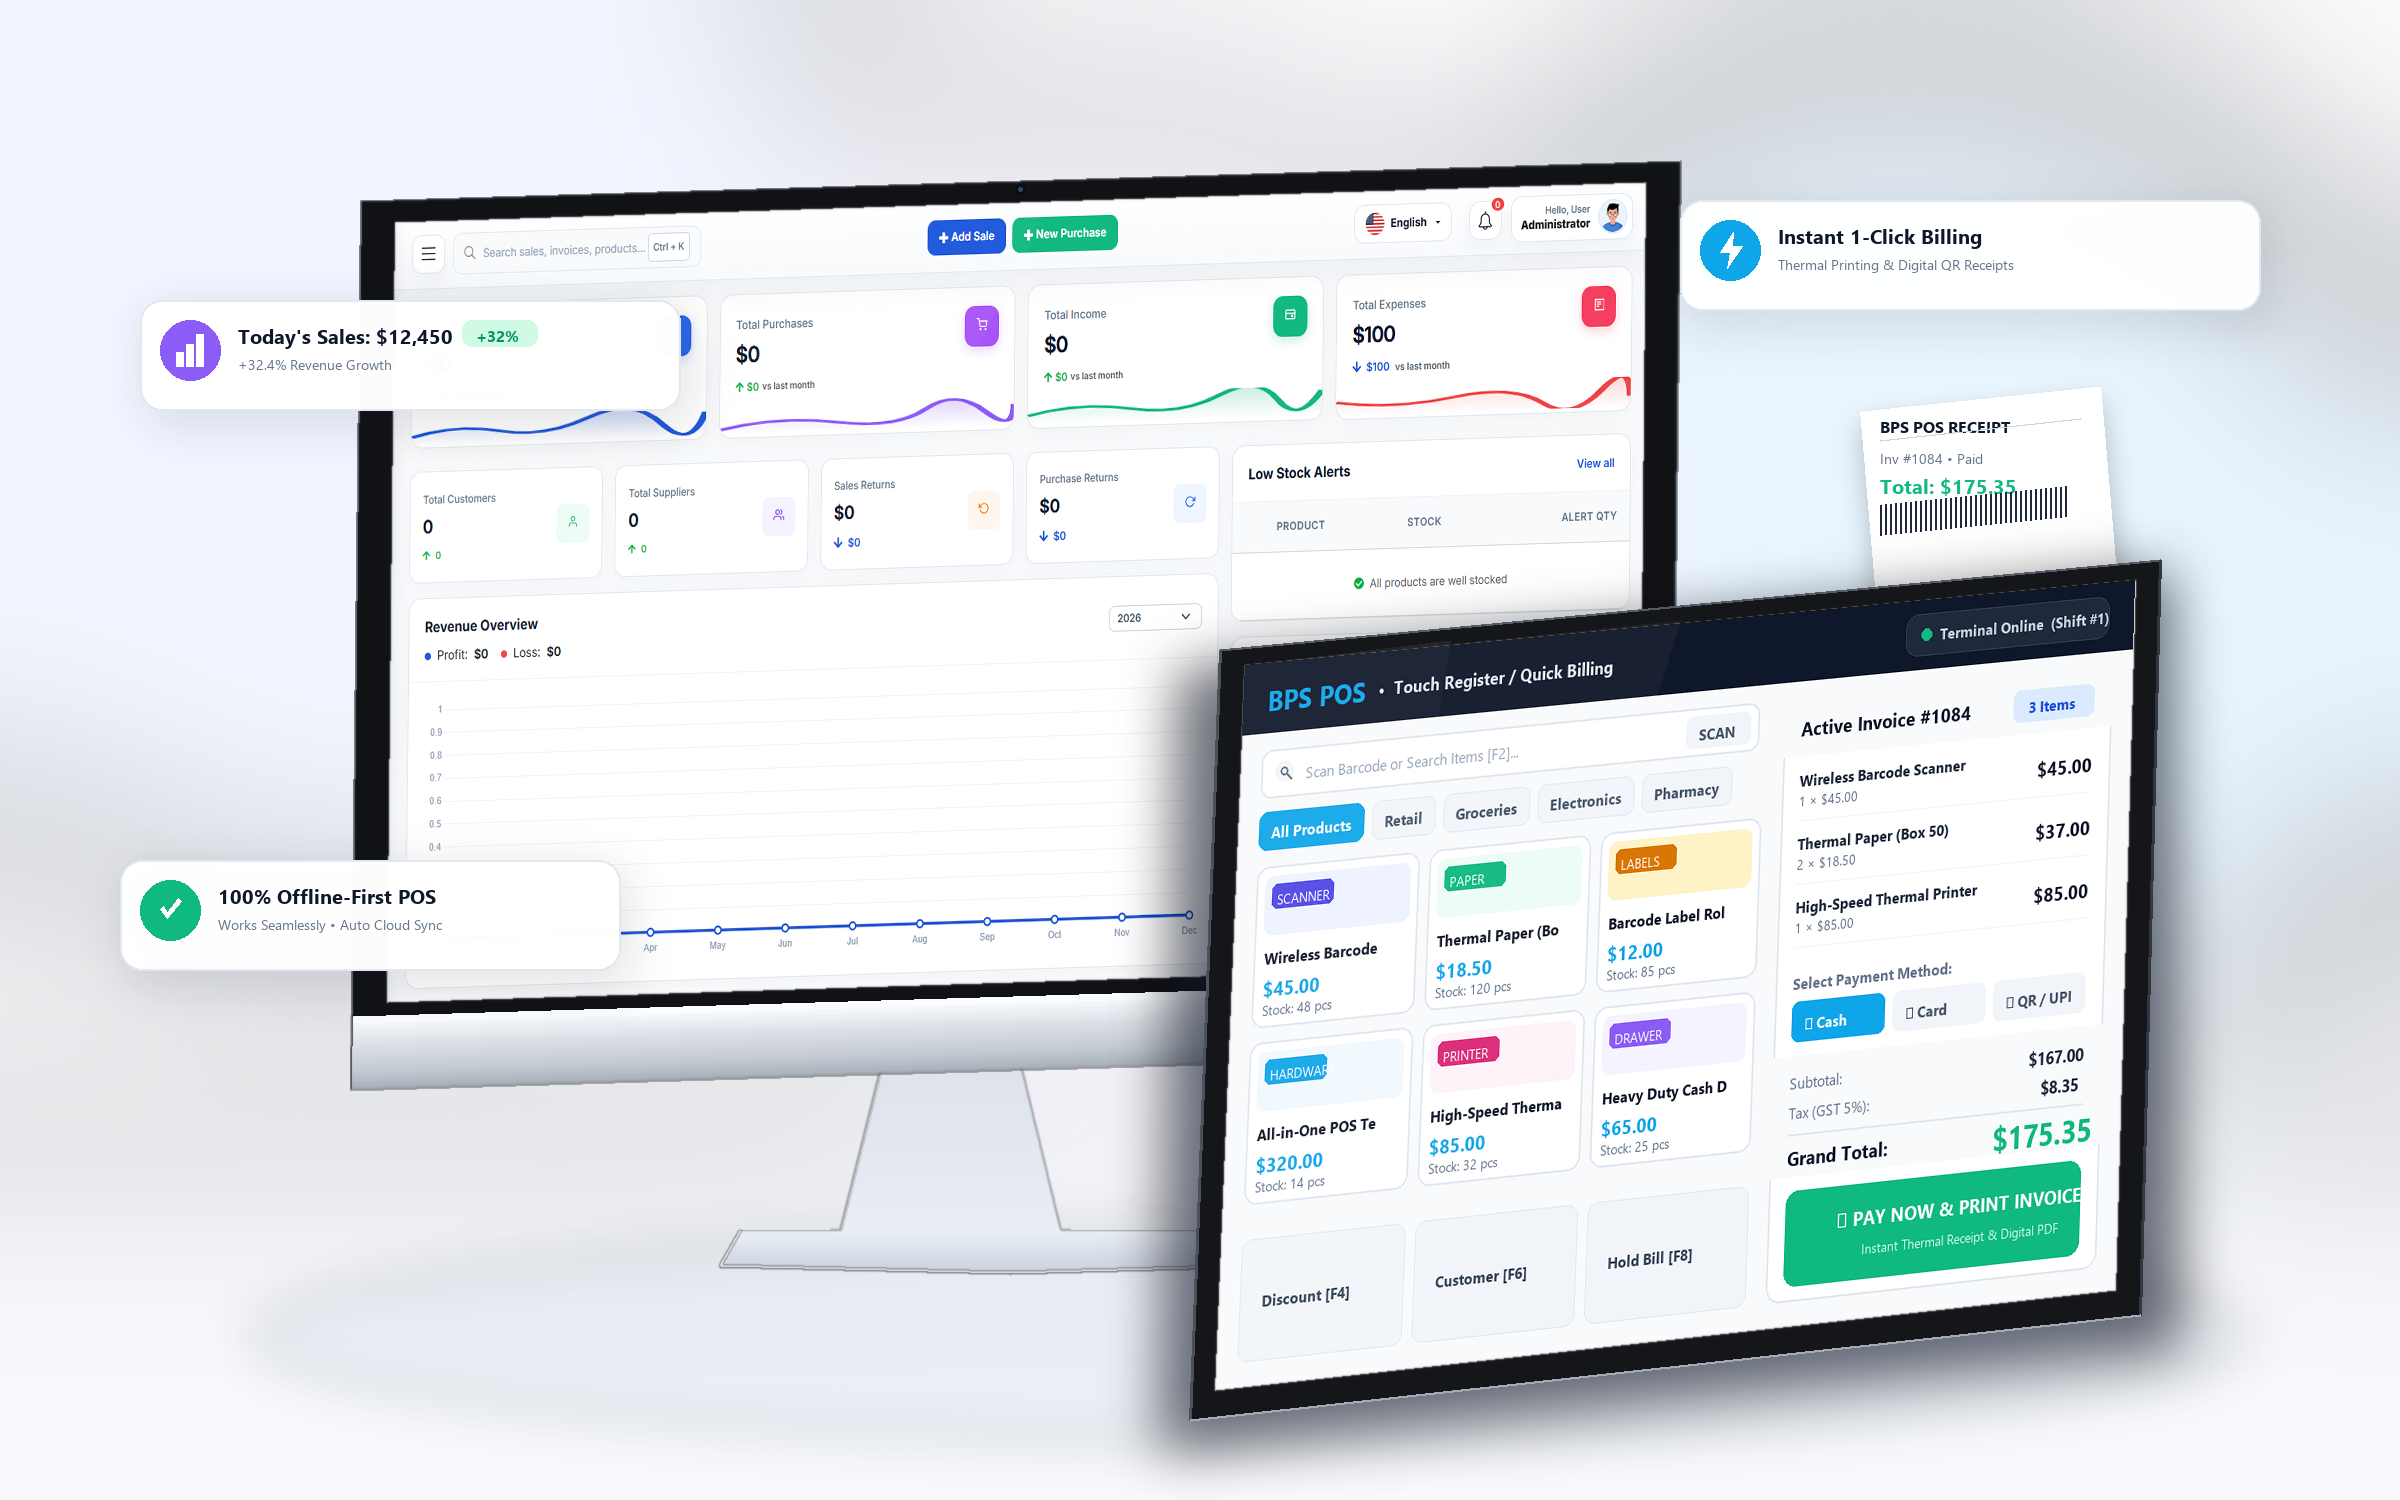
Figure 1: BPS POS General Settings and Receipt Configuration portal.
How to Update Your Business Information
- Log in to your BPS POS account as a Store Owner or Administrator.
- From the left-hand sidebar, navigate to Settings → General Settings.
- Store Logo: Click Upload Logo to add your PNG/JPG logo (recommended size: 300x120px with transparent background).
- Contact Details: Enter your physical shop address, customer helpline phone number, email, and social media handles.
- Receipt Footer Message: Add custom text such as "Thank you for shopping with us! Items can be exchanged within 7 days with original receipt."
- Click Save Changes to instantly apply the new branding across all cash registers.