Quick Answer / Overview
To create a business account in BPS POS, navigate to the Register page, enter your Shop Name, Owner Name, Email, Phone Number, Business Category (e.g., Pharmacy, Grocery, Retail, Restaurant), select your Default Currency, and set a secure password. Upon submitting, your business is instantly created and ready for plan selection and product cataloging.
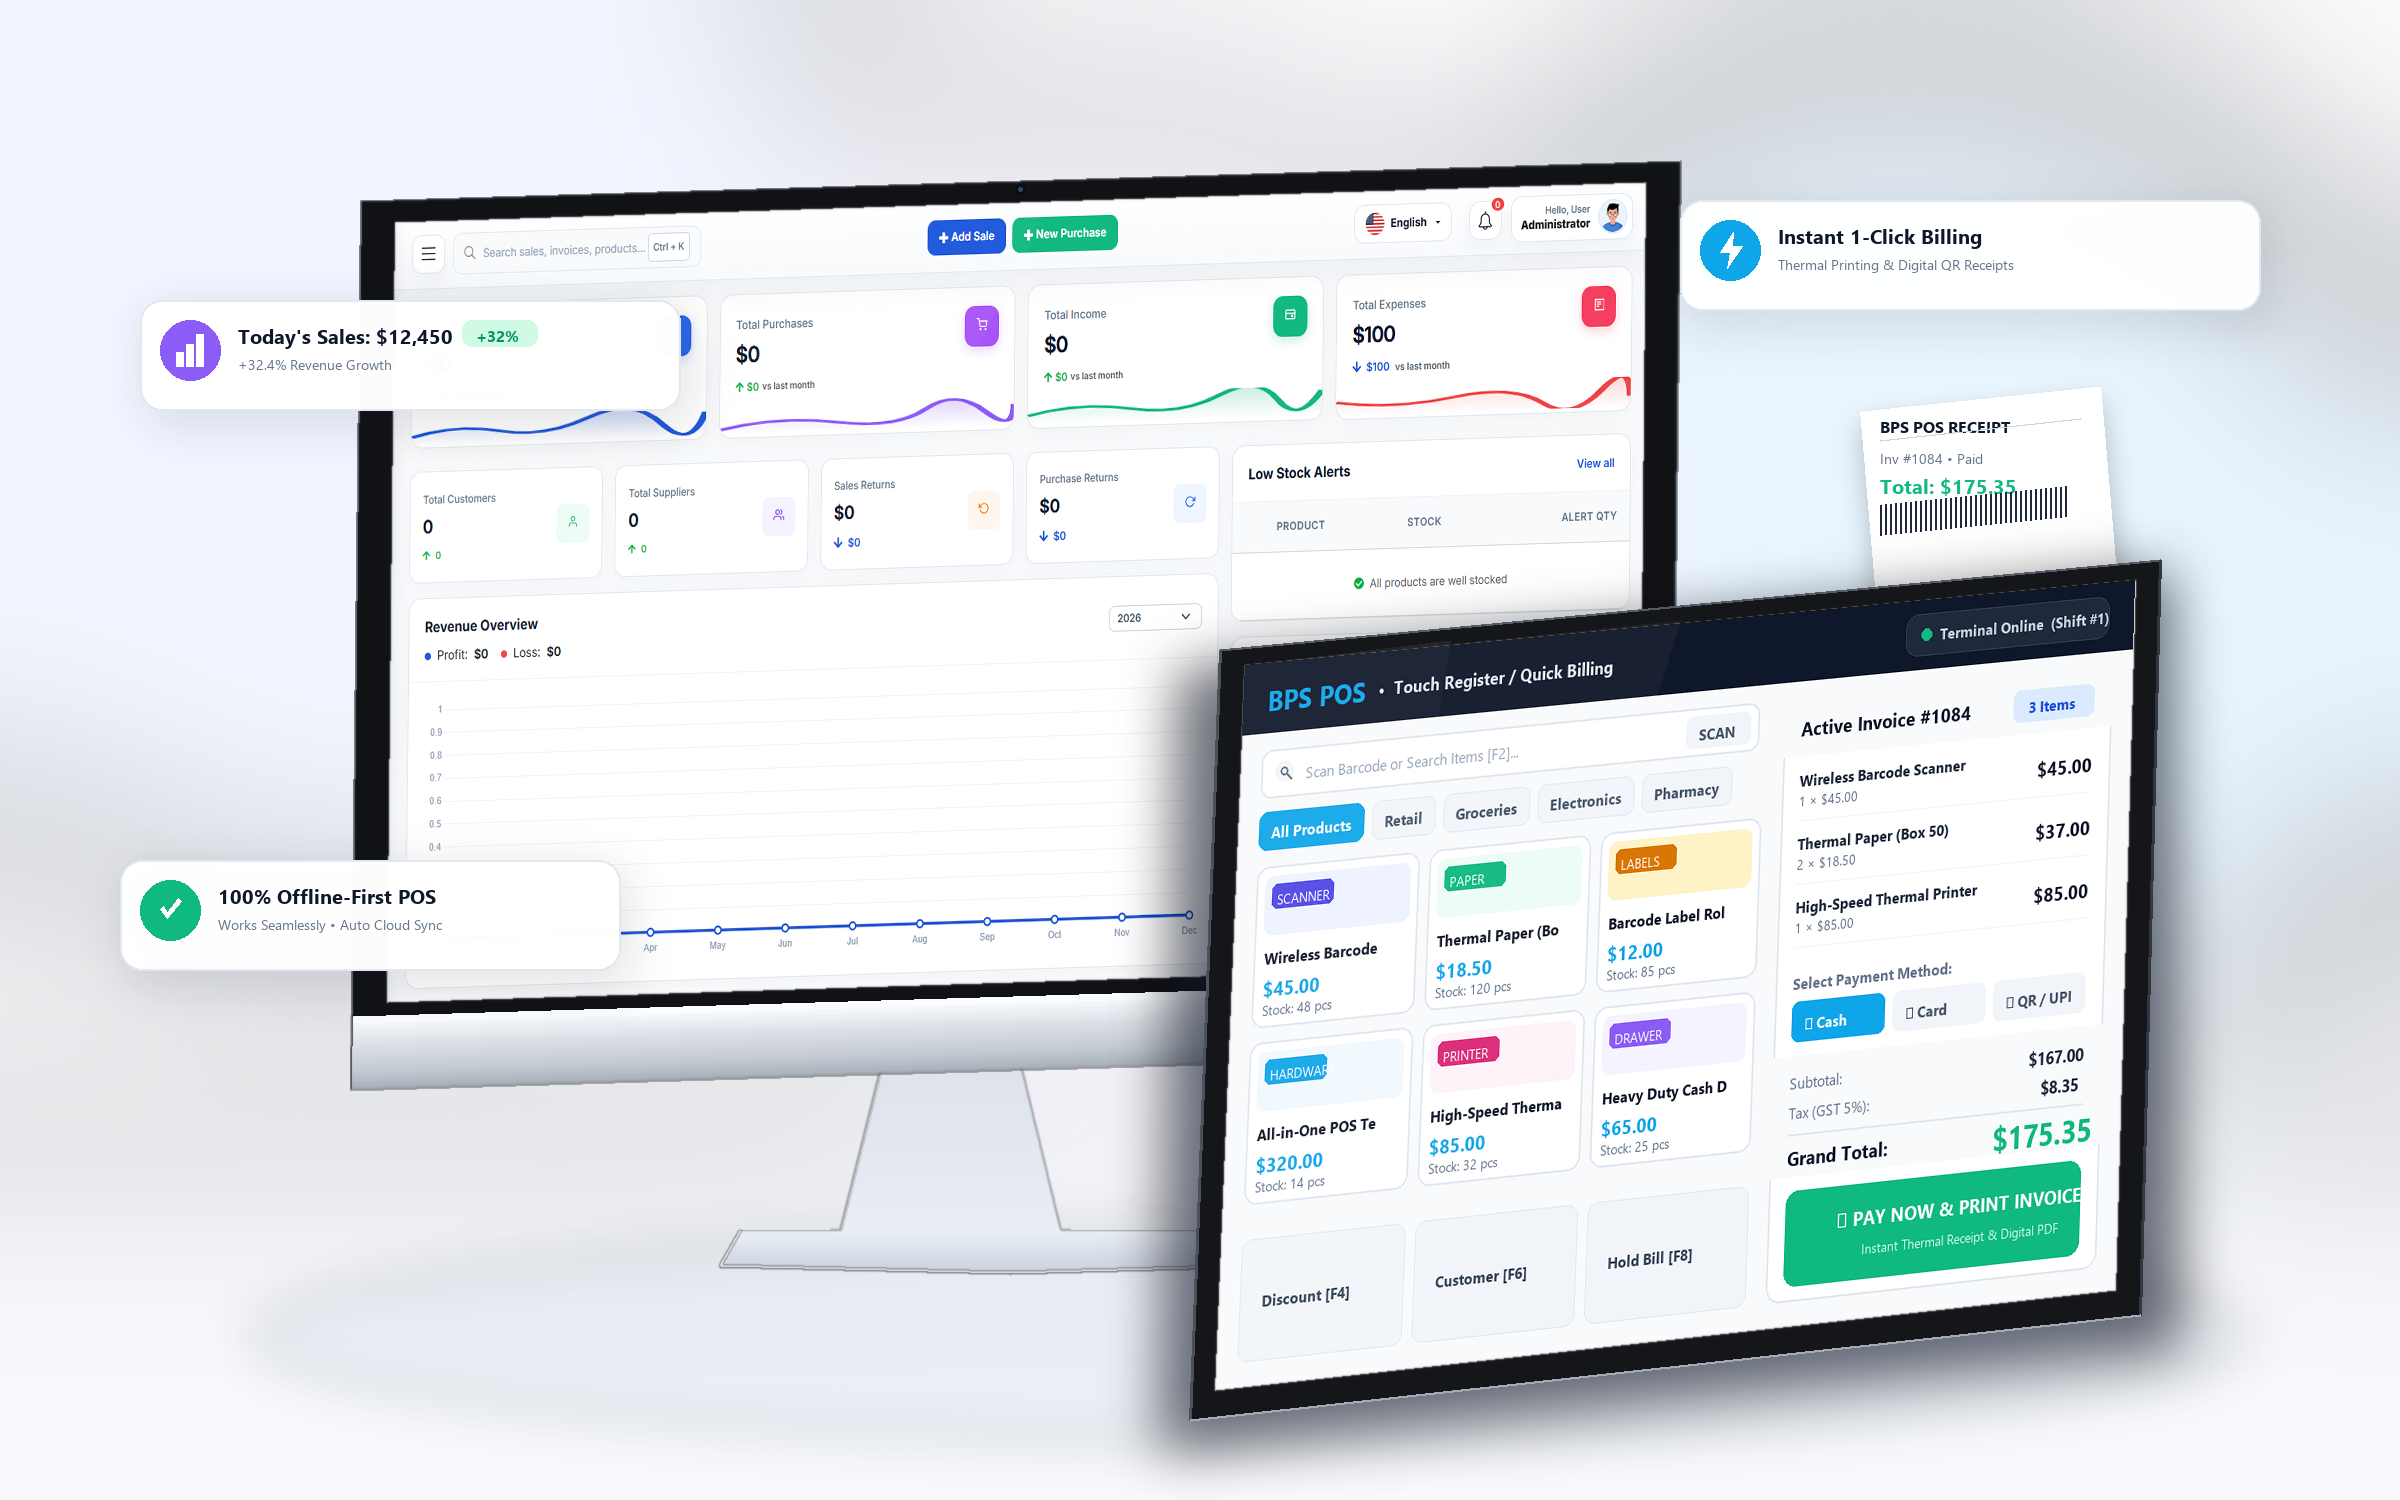
Starting your journey with a modern, high-speed cloud Point of Sale (POS) system should be seamless. BPS POS is engineered specifically for retail stores, supermarkets, pharmacies, apparel outlets, and restaurants, allowing merchants to transition from manual pen-and-paper ledgers to automated barcode billing in less than five minutes.
What You Will Learn in This Guide:
- Step 1: Navigating to the BPS POS Registration Portal
- Step 2: Entering Accurate Business & Owner Information
- Step 3: Choosing the Correct Business Category & Currency
- Step 4: Account Security & Password Standards
- Step 5: Next Steps After Registration
- Frequently Asked Questions (FAQs)
Step 1: Access the BPS POS Registration Portal
Open your web browser (Google Chrome, Microsoft Edge, or Safari recommended) and visit your BPS POS website URL. On the top navigation bar, click on the Get Started or Register button, or go directly to /register.
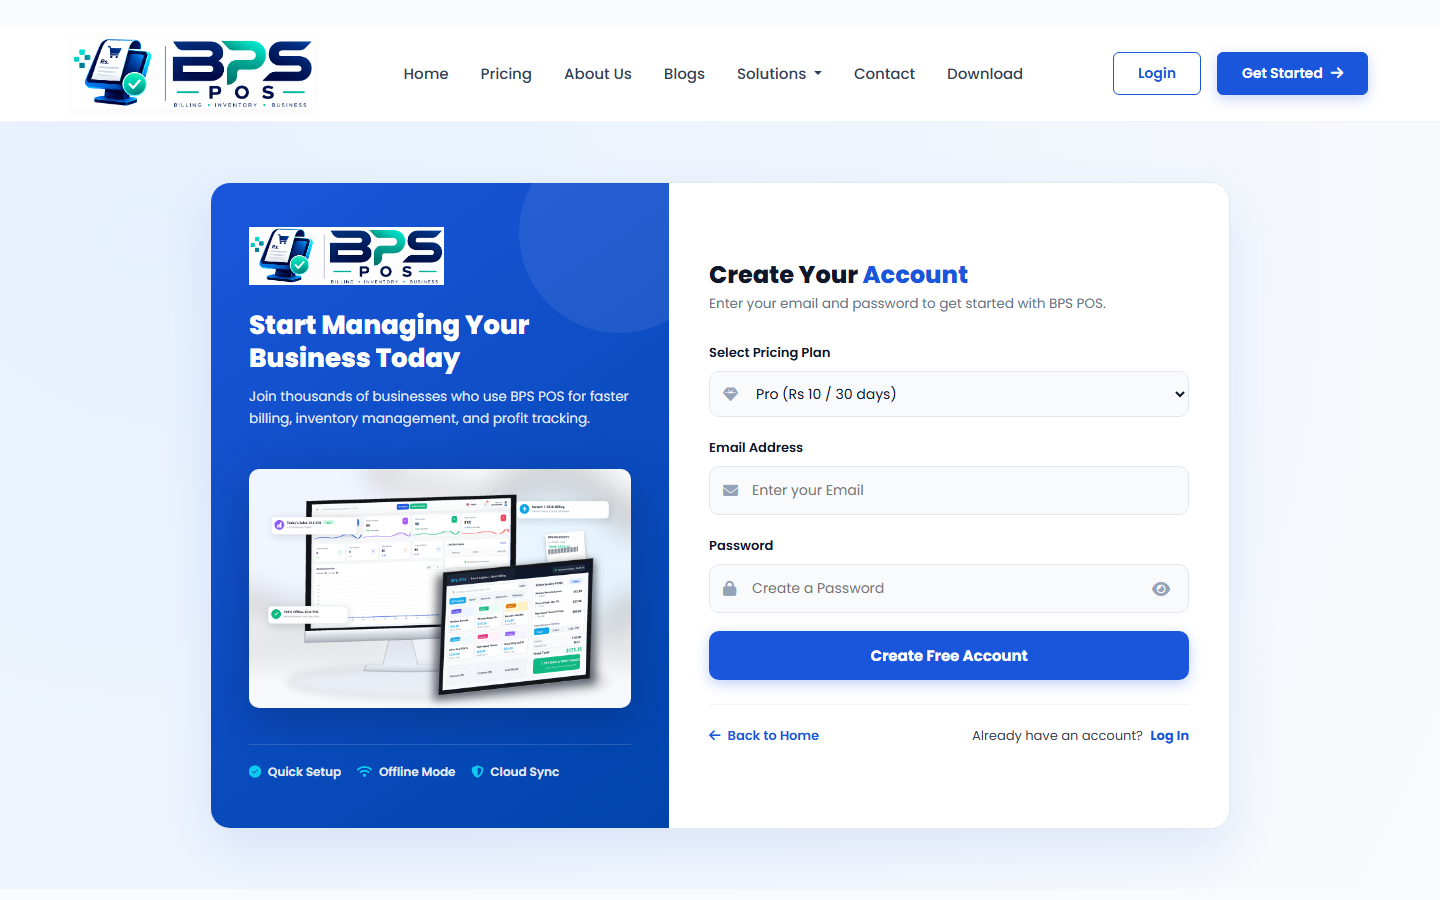
Figure 1: Official BPS POS Business Registration Form interface.
Step 2: Fill in Your Business & Owner Credentials
The registration form requires essential identification details to configure your isolated business database and invoices:
- Business / Shop Name: Enter the official commercial trade name of your shop or enterprise (e.g., Al-Madina Superstore or Apex Pharmacy). This name will automatically appear on all your printed thermal receipts and customer invoices.
- Owner / Manager Full Name: The primary account holder responsible for administrative control.
- Email Address: Provide a valid, active email. This email serves as your primary login ID and receives system notifications, daily summary reports, and password reset links.
- Phone / WhatsApp Number: Essential for account recovery, OTP authentication, and customer communication.
Step 3: Select Business Category & Default Currency
Selecting the appropriate business category configures BPS POS with tailored features:
Pharmacy & Healthcare
Enables batch tracking, medicine expiry alert notifications, and rack/shelf storage tagging.
Restaurant & Cafe
Activates Kitchen Order Ticket (KOT) queue, table reservation floor plans, and waiter management.
Grocery & Superstore
High-speed barcode scanner billing, multi-unit conversions (Carton to Pieces), and weigh-scale support.
Retail & Apparel
Product variation matrix (Size, Color, Brand), barcode sticker printing, and seasonal discount management.
Best Practice Pro Tip
Currency Selection: Always ensure you pick your primary operating currency (e.g., USD, PKR, SAR, AED, EUR, GBP) during registration. While you can add additional currencies later in Settings, your base currency governs all financial profit and loss ledger calculations.
Step 4: Set a Secure Password & Submit
Create a robust password containing at least 8 characters with a combination of uppercase letters, numbers, and symbols. Once completed, review the Terms of Service and click on Create Account.
Frequently Asked Questions (FAQs)
Ready to Explore BPS POS?
Proceed to the next tutorial to verify your account and explore the interactive dashboard.
Next: Choosing a Pricing Plan →