Kitchens are often located far from cashier counters. BPS POS Network Kitchen Printing allows cashiers to click "Send KOT" on the front desk while a dedicated Ethernet/LAN thermal printer in the kitchen prints the preparation slip automatically.
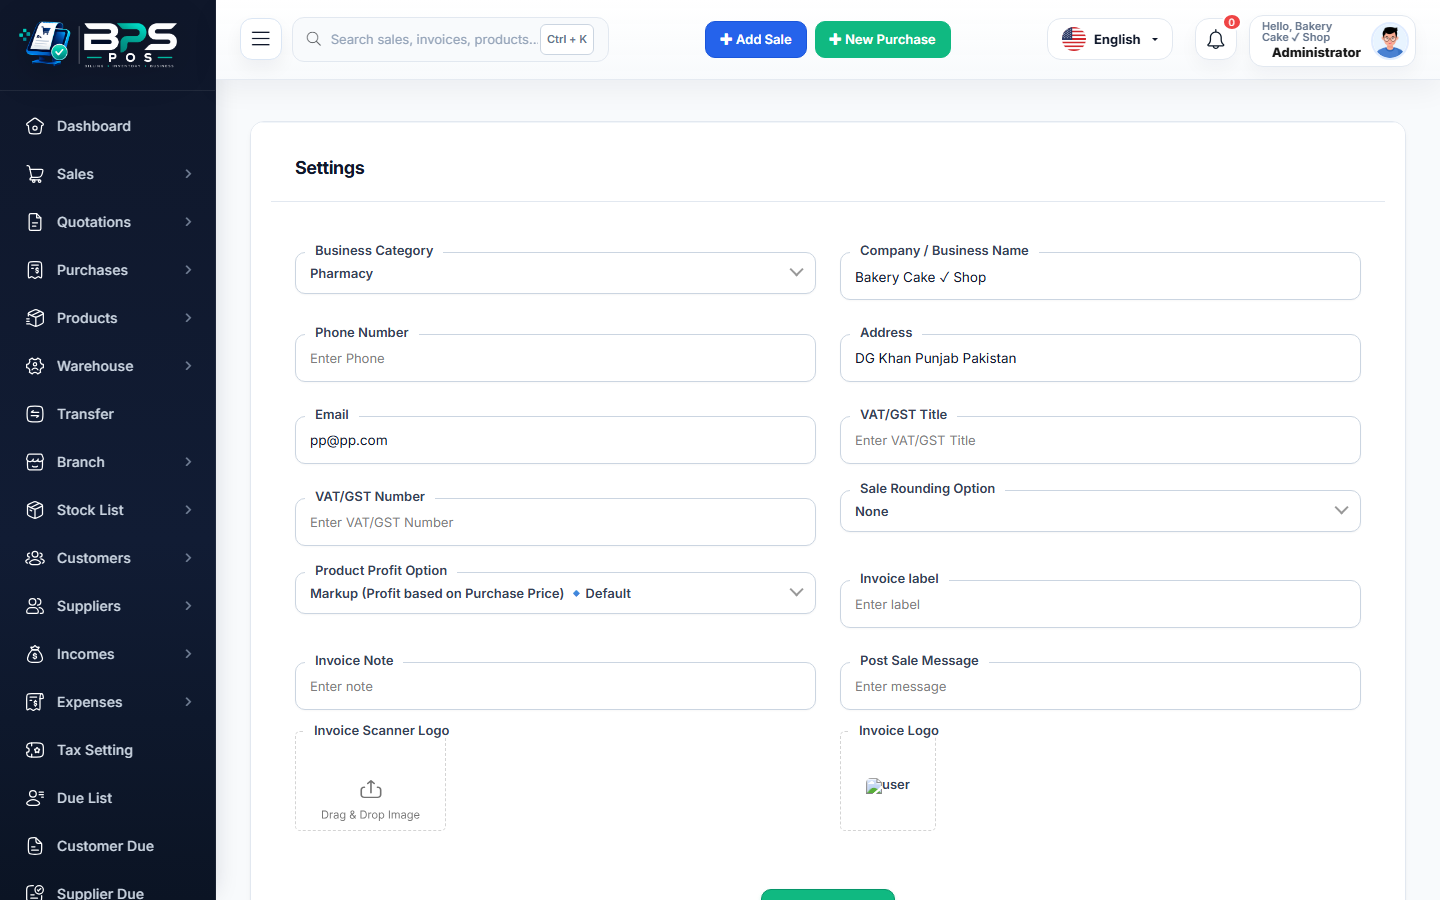
Figure: BPS POS Dedicated Kitchen Printer Setup in BPS POS.
Connecting Kitchen Thermal Printers
Follow these step-by-step instructions inside your BPS POS dashboard to configure and operate this workflow seamlessly:
- Assign Static IP: Connect your kitchen printer via RJ45 Ethernet cable to your router and note its IP address (e.g. 192.168.1.200).
- Open Printer Settings: Go to Settings → Thermal Printers → Add Printer.
- Set Connection Type: Choose Network / Ethernet, input printer IP and Port 9100, and designate its role as "Kitchen Printer".
- Perform Test Print: Click "Test Connection" to trigger an automated test buzzer and test slip in the kitchen.
- Enable Auto KOT Printing: In POS Settings, check "Auto Send KOT to Kitchen Printer upon Order".
BPS POS Pro Tip & Best Practice
Use thermal printers equipped with loud internal audio buzzers so busy kitchen chefs hear incoming ticket chimes over stove noise.
Why This Workflow Matters for Your Business
Lightning-Fast Operations
Eliminate cashier bottlenecks, reduce customer waiting times, and handle peak rush hours effortlessly.
100% Financial Accuracy
Automate tax math, stock deductions, and ledger balances to eliminate human calculation mistakes.
Frequently Asked Questions (FAQs)
Can I connect a kitchen printer via Wi-Fi?
Yes, any Wi-Fi ESC/POS printer on the same local network can be assigned and printed to via its local IP.
Ready to Upgrade Your Retail Billing?
Experience lightning-fast billing, automated stock tracking, and multi-branch control with BPS POS.
Explore Pricing Plans →